

Use the Indexes tab
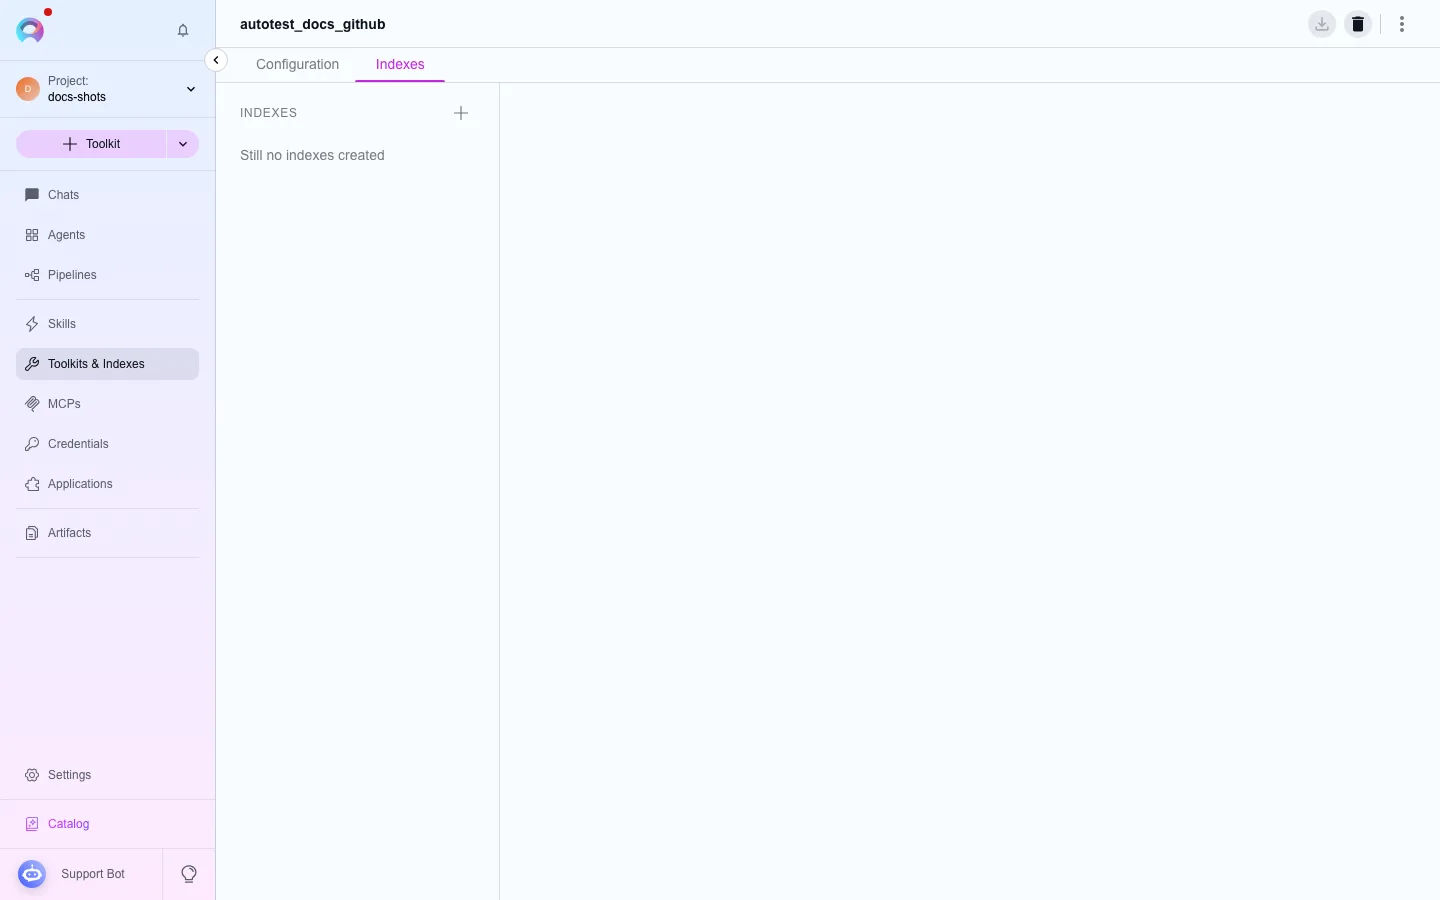
Every toolkit type that supports indexing shows an Indexes tab next to its Configuration tab. This page walks through the full lifecycle: create, monitor, reindex, schedule, and review history.
Create an index
Section titled “Create an index”- Open a toolkit that supports indexing and switch to its Indexes tab.
- Start a new index. Give it a unique name (it can’t be changed later) and set the toolkit-specific scope fields — for example a repository and branch for GitHub, or a space key for Confluence. See Index data from a source for the fields each source needs.
- Optionally turn off “skip unsupported extensions” if you want files with uncommon extensions indexed as plain text instead of skipped.
- Start the run and watch its progress. The index reaches Completed when everything indexed cleanly, or Partially Indexed when some files were skipped (both states are fully searchable).
Manage an existing index
Section titled “Manage an existing index”Opening an index from its card gives you a Configuration view (the index’s own settings — everything except its name is editable) and a history view. From there you can:
- Reindex — pick up new and changed content from the source. Unchanged files aren’t reprocessed; the previous working index stays searchable until the new run finishes successfully.
- Schedule — see Schedule re-indexing.
- Delete — permanently remove the index and its data. Only available when the toolkit’s Remove Index tool is turned on.
Review index history
Section titled “Review index history”The index’s history view lists every past run — the initial index, manual reindexes, and scheduled reindexes — in order, with status and file counts for each. Use it to confirm a scheduled reindex actually ran, or to see when an index last failed.
Notifications
Section titled “Notifications”Indexing operations (initial runs and reindexes) raise a notification when they finish, whether they succeed, partially succeed, or fail. See Notifications for how to review these.
Next steps
Section titled “Next steps”- Index and search data with tools to run search against a completed index from chat or an agent.
- Schedule re-indexing to keep an index current automatically.