

Use the flow editor
The flow editor is the visual workspace for building a pipeline: a canvas you arrange nodes on, connected by the edges the pipeline follows at runtime.
Open the flow editor
Section titled “Open the flow editor”Open Pipelines, then an existing pipeline or a new one, and select Flow in its Configuration tab (next to YAML). Both views describe the same pipeline and stay in sync — a change in one shows up in the other.
Add and connect a node
Section titled “Add and connect a node”Open the node palette
Click the + button on the canvas to open the Add-node menu.
Pick a node type
Choose from the nine types the runtime executes: Agent, Decision, HITL, LLM, MCP, Printer, Router, State modifier, Toolkit. See Pipeline node types for what each does.
Configure it
Click the new node to open its configuration panel and set its fields (model, toolkit, routing condition, and so on, depending on the type).
Connect it
Drag from one node’s connection point to the next to create an edge. You can also start a connection and drop it on empty canvas to add a new node in the same step.
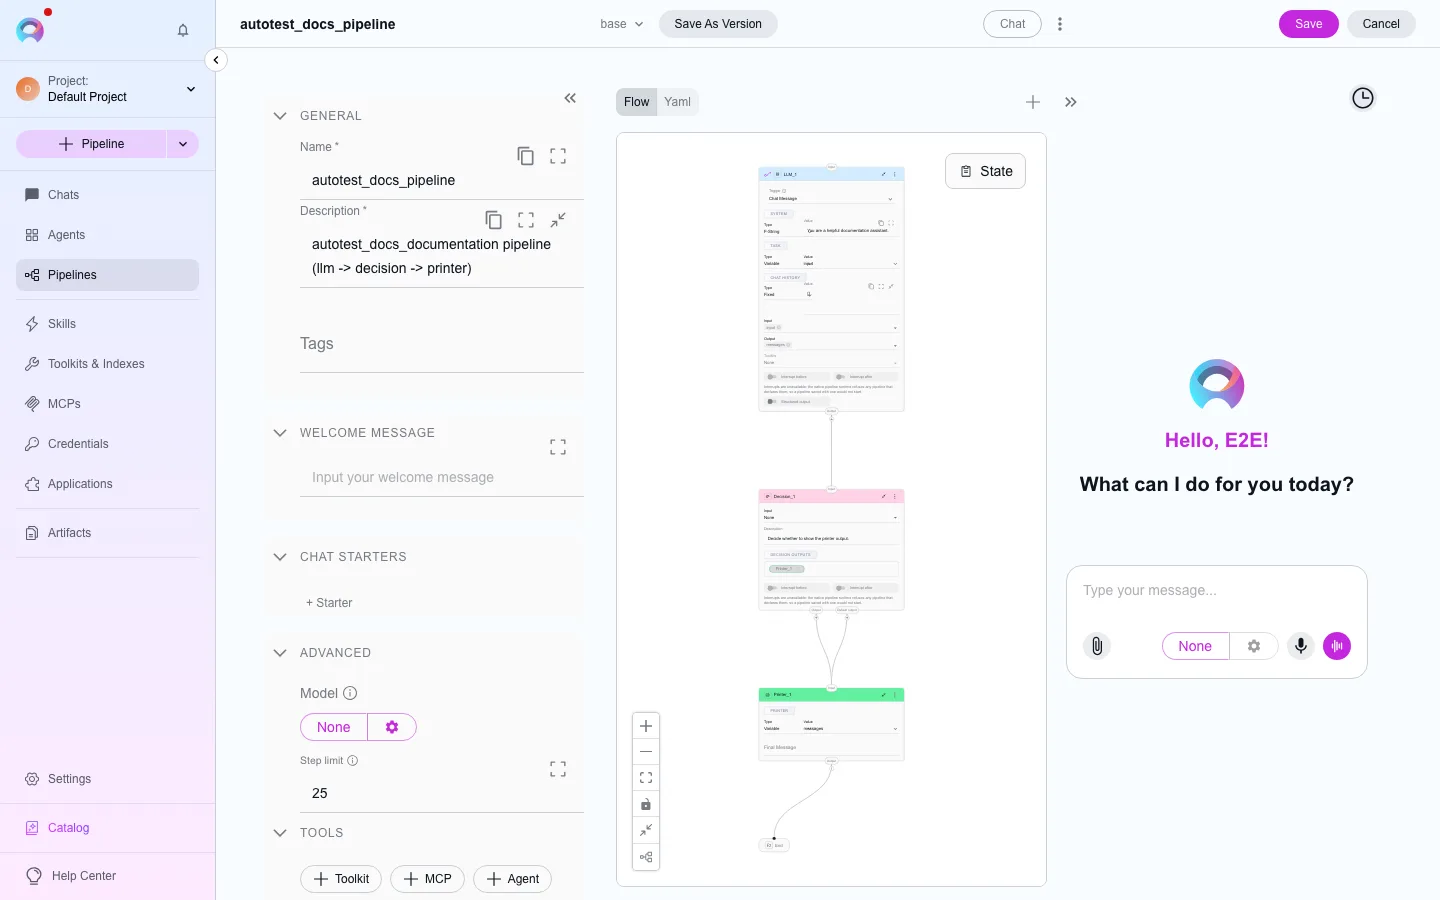
Canvas controls
Section titled “Canvas controls”The left-side toolbar zooms in and out, fits the whole pipeline to view, locks the canvas against accidental edits, collapses or expands all node cards at once, and auto-arranges the layout.