

Build an agent with AI
Build with AI turns a short, natural-language description into a starting agent draft — name, description, instructions, welcome message and conversation starters. Nothing is created until you review the draft and confirm.
Generate a draft
Section titled “Generate a draft”Open the form
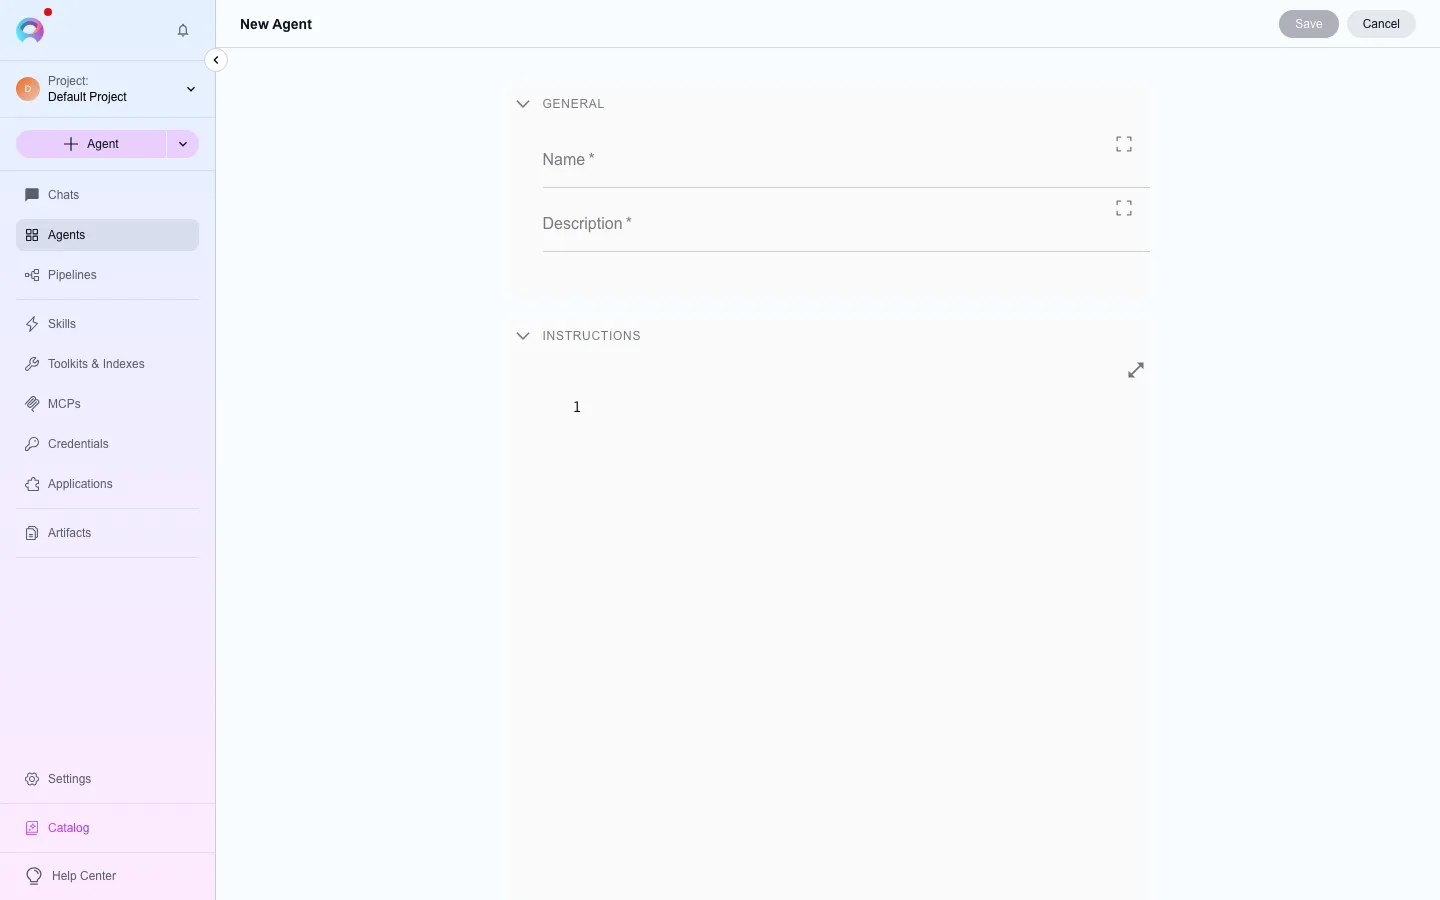
Go to Agents, click Create, and open the General section of the new agent form.
Open Build with AI
Click Build with AI (sparkle icon) in the section header. The button only appears if you have permission to create or update agents in the project, and the project has a default LLM model configured.
Describe the agent
Enter what the agent is for, what tasks it should handle, and any tone or constraints you want. Press Enter to generate (Shift+Enter adds a line break instead).
Review and edit
Elitea returns a draft with Name (up to 32 characters), Description, Instructions, Welcome message (up to 768 characters) and up to four Conversation starters. Every field is editable before you create the agent. Use Back to prompt to revise your description and regenerate.
Create the agent
Click Create Agent. The agent is created with the reviewed fields and the project’s default model, and the page opens on its Configuration tab for further setup.
The same generator is available for a skill (/skills/create) and for project context (Settings › public project context) — the underlying draft endpoint serves all three, so the same “describe it, review it, create it” flow applies there too. See Create and share a skill.
Edit instructions with AI
Section titled “Edit instructions with AI”Once an agent exists, its Configuration tab’s General section can show an Edit with AI button next to the Instructions field. It needs a model configured on the agent’s version and an AI configuration the deployment has enabled; if either is missing, the button does not appear at all rather than failing on click.
Open the editor
Click Edit with AI.
Describe the change
Enter what you want changed about the instructions — for example, tightening scope or changing tone.
Review the diff
Elitea proposes replacement instructions and shows a highlighted diff against the current text.
Apply
Applying the suggestion fills in the Instructions field, the same way any manual edit would. Save the agent version afterward to keep the change.
This tool edits instructions only — it does not touch the name, welcome message, conversation starters, or attached toolkits/skills, and it has no separate “save as version” step of its own; use the agent’s normal version controls for that (see Version agents and pipelines).
Guides and references
Section titled “Guides and references”- Agents overview — creating and configuring agents manually
- Publish agents and skills
- Version agents and pipelines
- Toolkits overview