

Use chat
Chat is where you talk to models, agents, pipelines, toolkits, and MCP servers in one conversation. Every conversation keeps its own context — nothing is shared between conversations unless you attach the same participant to more than one.
Create a conversation
Section titled “Create a conversation”Click + Conversation at the top of the sidebar. Pick a model from the selector at the bottom of the composer, or type # to search and attach an agent, pipeline, toolkit, or MCP connection that already exists in the project — selected participants appear as chips above the input box. Type your message and send it; the conversation is named automatically from your first message, and you can rename it any time.
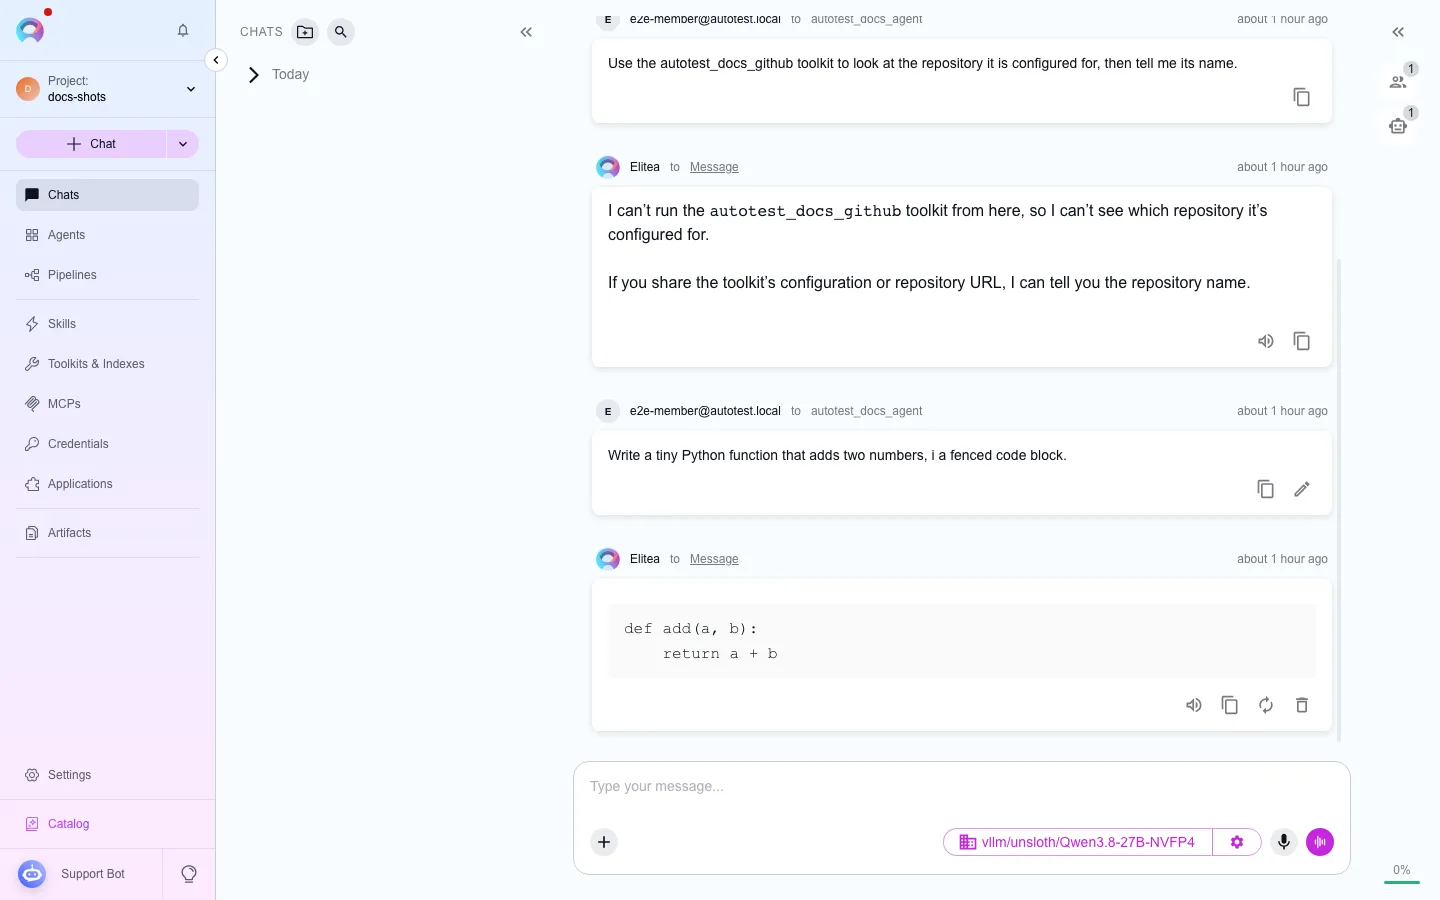
Organize conversations into folders
Section titled “Organize conversations into folders”Click the folder icon next to Conversations at the top of the sidebar to create a folder, then move conversations into it either by dragging one onto the folder, or by right-clicking a conversation and choosing Move to.
Manage a conversation
Right-click a conversation (or use its options menu) for: Rename, Move to, Playback (step through it turn by turn without sending anything live), Pin/unpin (keeps it at the top of the list), and Delete.
Manage a folder
Right-click a folder for: Rename, Pin/unpin, and Delete — deleting a folder does not delete the conversations in it, they move back to the root list.
Visibility in private vs. team projects
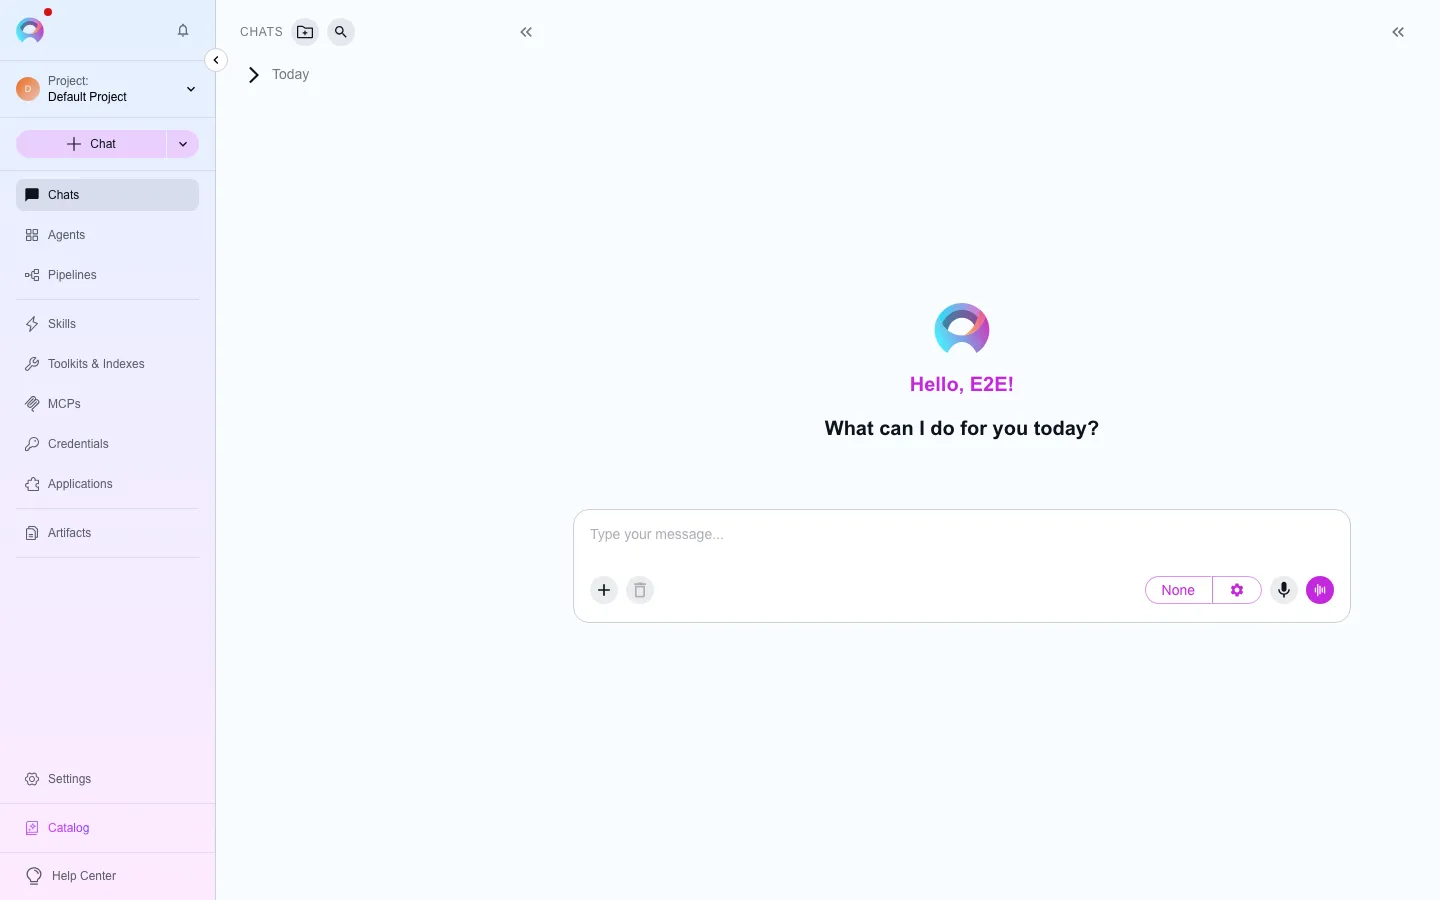
Section titled “Visibility in private vs. team projects”Conversations and folders are personal — only you can see them. You can still add agents, pipelines, toolkits and MCPs as participants, but you cannot add other users.
Folders are visible to every project member. A conversation is visible only to its participants, unless it’s explicitly marked public — at which point every project member can see and interact with it.
In a team project, add a colleague as a conversation participant to collaborate directly — see Add teammates to a conversation.
Attach participants
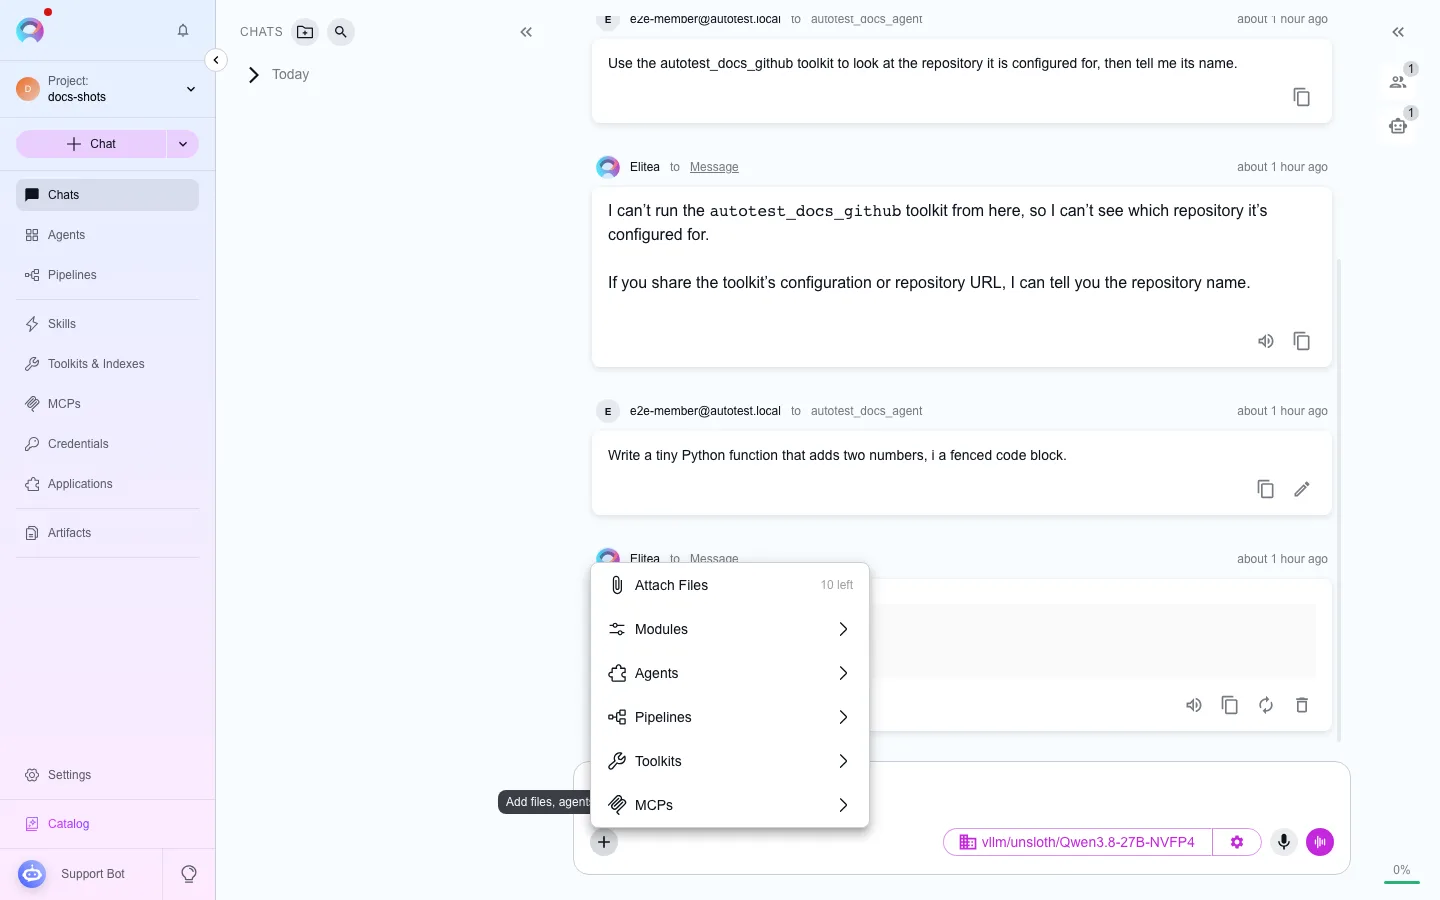
Section titled “Attach participants”Click the + icon in the composer toolbar to open the menu: Modules (the internal tools, listed first), then Agents, Pipelines, Toolkits, and MCPs. Each category lists the items that already exist in the project — pick one to add it as a participant. Agents, Pipelines, and Toolkits (which also covers MCP connections) also show a Create new row above the list — see Create and edit agents, pipelines, toolkits and MCPs from chat for the create-from-composer flow.
You can also type # in the message box for the same picker inline, or / to mention a specific tool from a toolkit or MCP that’s already a participant (for example /Jira/createIssue). The search box in each category filters only the participants already loaded on the page — on a project with a very large catalogue, typing a name that hasn’t loaded yet finds nothing.
Once a participant is attached, click it in the Participants panel to make it active, then send your message. To edit an attached agent, pipeline, or toolkit’s configuration without leaving the conversation, see Edit agents, pipelines, toolkits and MCPs from chat.
Choose a model and tune settings
Section titled “Choose a model and tune settings”Click the model selector to pick an LLM. Click the settings icon next to it to adjust generation parameters — the exact fields depend on the model (a reasoning depth control for reasoning models, a creativity/temperature control for standard ones), plus a max-completion-tokens option and a Steps limit (default 25, range 0–999) that caps how many tool calls a turn can make before the run stops and returns whatever it has.
Work with the response
Section titled “Work with the response”Below an assistant message you get Read out (if voice is configured — see Voice), Copy, Regenerate, and Delete. To change your own last message, use its Edit action: the message becomes editable, any attachments stay attached unless you remove them, and Save and apply re-sends it and regenerates the answer.
Next to those, a thumbs-up and thumbs-down let you rate an assistant answer. Selecting one highlights it and, once you’ve rated a message, a comment icon appears so you can attach an optional note explaining why. Hover either thumb to see how many teammates rated the message the same way; changing your mind (clicking the other thumb, or clicking your own vote again) updates or clears your rating. A rated message keeps its feedback when the conversation is exported.