

API usage
Everything the web app does goes through the same REST API you can call directly — from a script, a Power Automate flow, or any HTTP client that can send a bearer token.
Authenticate
Section titled “Authenticate”Create a personal access token
Open Settings › Personal tokens and create a token. Copy it immediately — it’s shown once.
Send it with every request
Add an
Authorization: Bearer <token>header. A legacy-compatibility alternative,X-API-Key: <token>, is also accepted.Scope your calls to a project
Most endpoints take a project id in the path. A token can only act on projects its owner belongs to.
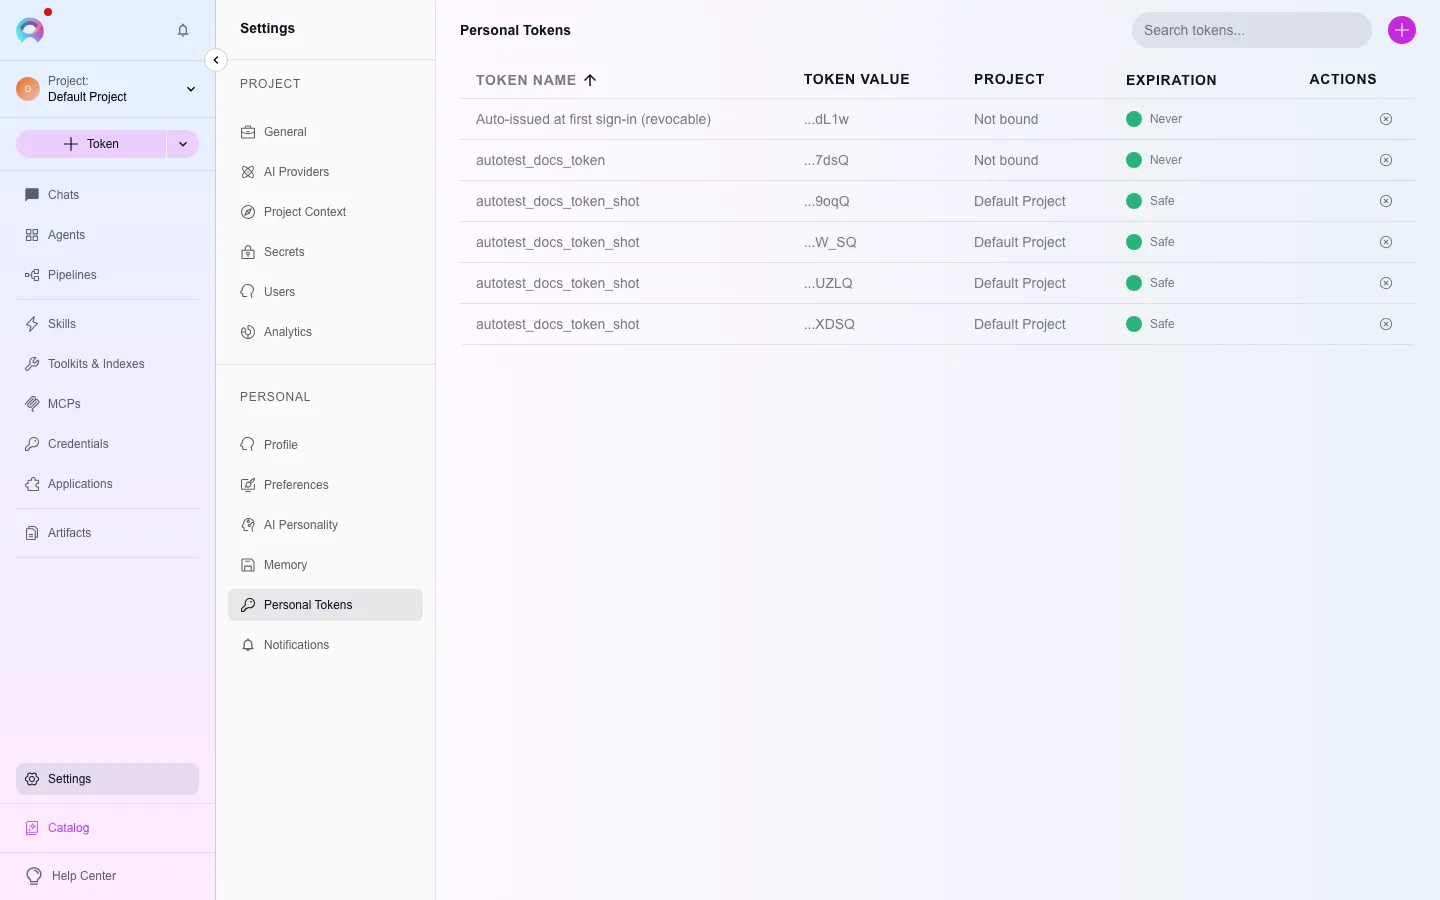
Endpoint layout
Section titled “Endpoint layout”- REST endpoints live under
/api/v2/...— the same paths the web app calls. - Interactive API documentation (OpenAPI/Swagger UI) is served at
/api/docs, with the raw spec at/api/openapi.yamland/api/openapi.json. Both are public — no token needed to read the spec. - The MCP server is at
/app/{projectID}/mcp(see Elitea MCP server) — the same bearer token authenticates it. - SCIM provisioning, for identity providers that push users and groups, is at
/api/v2/scim/v2. It authenticates with a dedicated SCIM client credential that you create under Authentication; a personal access token is refused.
Call the API from Power Automate (or any HTTP client)
Section titled “Call the API from Power Automate (or any HTTP client)”Add an HTTP action
In your flow, add a generic HTTP (or “HTTP with Azure AD” if you prefer a service account) action.
Set the method and URL
Point it at the
/api/v2/...path for the operation you need — check/api/docsfor the exact path, parameters and body shape.Add the Authorization header
Set the header to
Bearer <your personal access token>, stored as a secret in your flow, not inline in plain text.