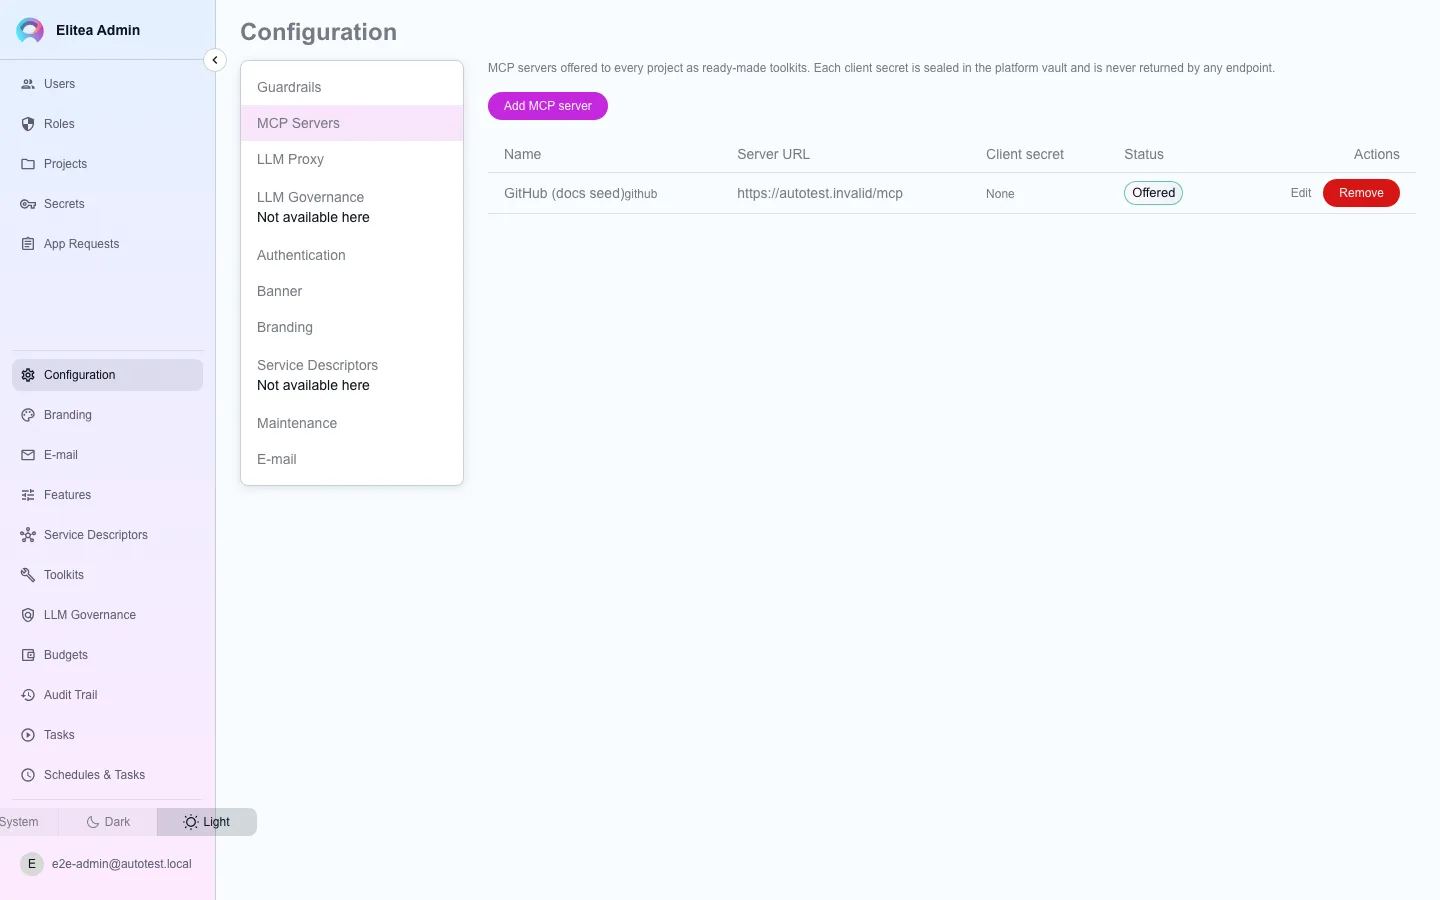

Pre-built MCP servers
An admin can curate a catalogue of MCP servers that every project sees as ready-made toolkit tiles, so project members don’t each have to look up a URL and register their own OAuth client. This replaces what the legacy docs called “EPAM MCPs” — the mechanism is now vendor-neutral; an admin can add any MCP server here, not a fixed list.
Add a server to the catalogue
Section titled “Add a server to the catalogue”Open the MCP servers admin section
As an admin, open Configuration in the admin console and go to the MCP servers section.
Add MCP server
Select Add MCP server. Give it a display name (its catalogue key is derived from the name, or fixed once other projects reference it) and the server’s base URL.
Add OAuth credentials, if needed
If the server needs OAuth and doesn’t support Dynamic Client Registration, enter the OAuth client ID and client secret. The secret is sealed into the platform vault immediately — no endpoint ever returns it again, including this form on a later edit.
Offer it to projects
Check Offer this server to projects, then Save. Project members now see it as a tile, the same as a hand-added Remote MCP.