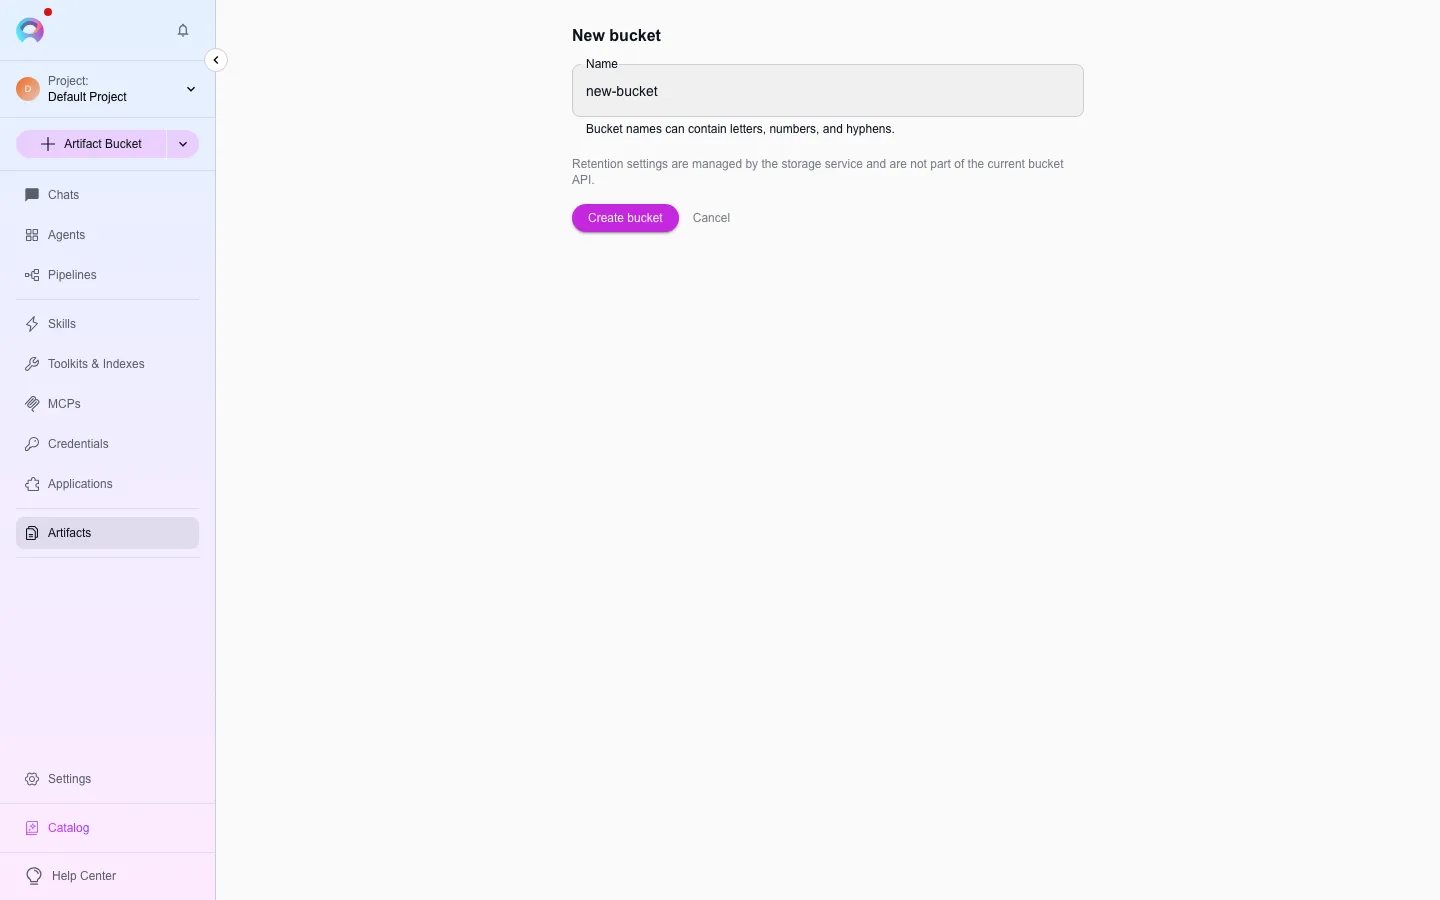

Create an artifact bucket
Artifacts are files stored in project-scoped buckets — a place for chat attachments, agent-generated files, and anything else a workflow needs to persist between turns.
Open Artifacts
Go to
/artifacts.Create a bucket
Click Create bucket (
/artifacts/create-bucket) and give it a unique name (lowercase letters, numbers and hyphens). Set a retention period in days — files older than that are automatically deleted — or leave it unset to keep files indefinitely.Upload a file
Open the bucket and upload a file, or drag one in. You can download, pin, or delete files and buckets from the same view.
Edit an existing bucket
Section titled “Edit an existing bucket”Open /artifacts and select a bucket, or go directly to /artifacts/create-bucket?bucket=<name>, to change its retention window or delete it. Deleting a bucket removes every file inside it — there’s no separate “empty the bucket” step, so confirm you no longer need its contents first.
Let an agent use a bucket
Section titled “Let an agent use a bucket”An agent or a pipeline reaches a bucket through an Artifact toolkit: create one at /toolkits/create with type Artifact, pointing at your bucket name, and enable the file tools you want the agent to call (create, read, list, append, delete). See Connect a toolkit quick start.
Chat attachments also land in a bucket automatically, without you creating one yourself — see Attach files to a conversation.
Toolkit types that support indexing can also index straight into artifact storage, which is what lets an agent search over a bucket’s contents instead of only reading files back one at a time.
Related
Section titled “Related”